|
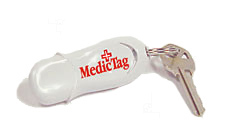
Step By Step Instructions 1. Make sure the switch on the MedicTag is to the LEFT when holding the MedicTag with the attachment hole upright. The switch makes the unit "Read Only" when positioned to the right and protects the information from accidental changes. 2. Plug the MedicTag into a USB port. Your system should recognize that you have plugged in the MedicTag and display a new icon in the task area at the lower right of your screen. On most systems it will start up automatically otherwise proceed to next step to manually start the program. 3. Click on "My Computer" to show a list of your drives. (If you do not have a "My Computer" icon on your desktop, click on "Start" then click "My computer") 4. Click on the "red cross" icon 5. Click the "AutoRun.exe" icon 6. From the menu click on "View Emergency Information". 7. Fill in your information as needed. 8. To save your information, click
on the "X" at the top right corner of the form to close the form.
You will be asked if you would like to save the changes. Click
“YES”.
|
| Go here for a printable text version of these instructions
|
|
Do you still have a question? |
|
|
|
|

Copyright © 2006 MedicUSB.com All rights reserved..com
